
When you install Kintaisan, the first-time setup guide opens and asks a few questions. Your answers make clocking in and out and the pay calculation fit you from the start. Every answer can be changed later in Settings. If you are not sure about a question, you can skip it with "Set up later". You can continue from the "Finish setting up the basics" bar shown on the screen.
This page covers what the guide asks (how you use the app, how you are paid, scheduled hours, closing day) and what the guide does not ask but makes each day easier if you set it first (tags, breaks, days off, notification, backup, start-up screen).
What the first-time setup guide asks
How you use the app and how you work
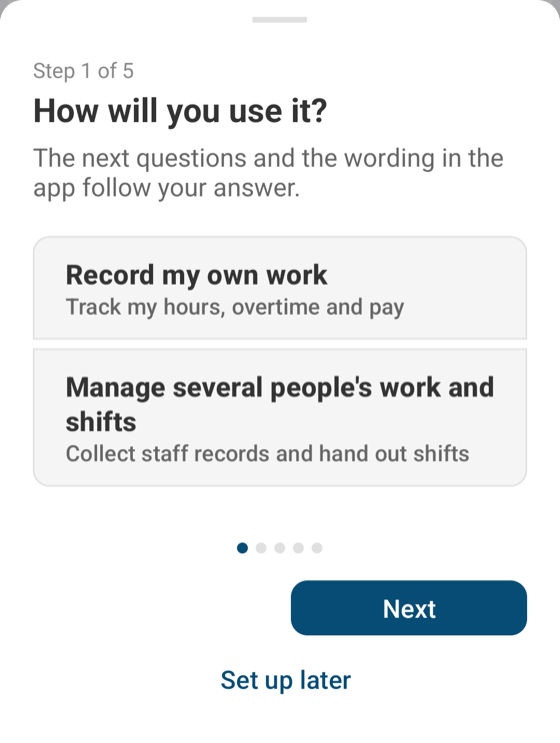
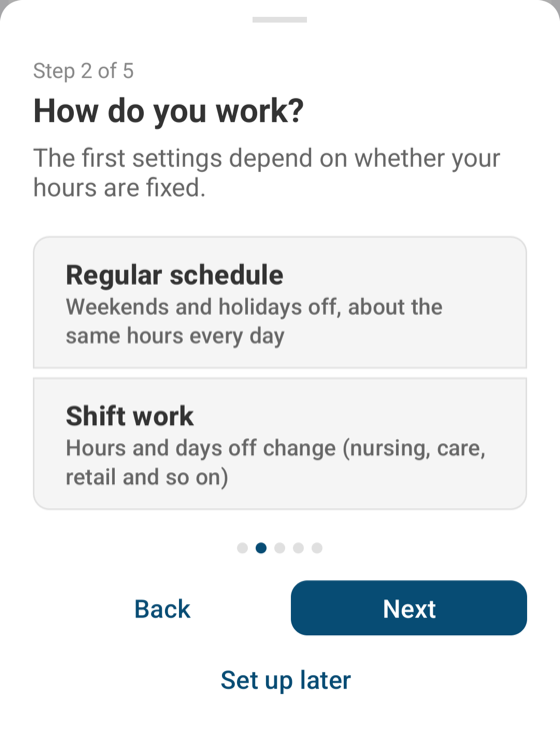
These are the first two questions. Choose whether you "record your own work" or "manage several people's work and shifts", and whether you work a "regular schedule" (weekends and holidays off, about the same hours every day) or "shift work" (hours and days off change).
The questions after that and the words on the screens change with your answers. For example, if you choose shift work you are not asked for scheduled hours. If you choose to manage several people, workplaces are called "staff". You can switch later with "How you use the app (manager mode)" in the menu (☰).
How you are paid
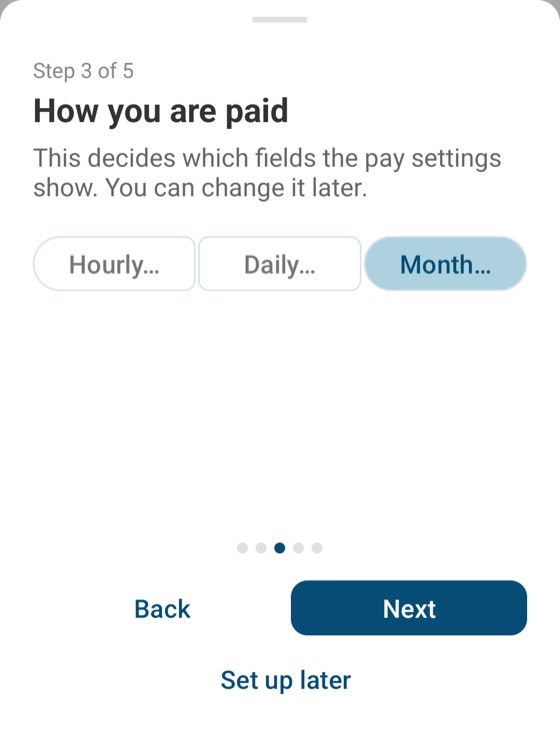
Choose hourly, daily or monthly pay. The items you enter in the salary settings depend on the type. You can change it later. See Salary settings for details.
Scheduled hours
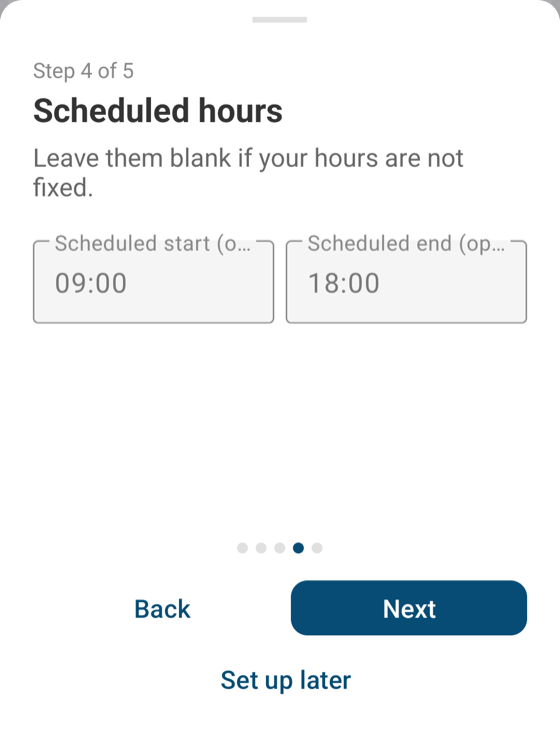
The start and end time of your normal day. If they are not fixed, leave them blank and continue. Once entered, the "Scheduled hours" button in the list fills in the start and end times in one tap. See Working hours settings for details.
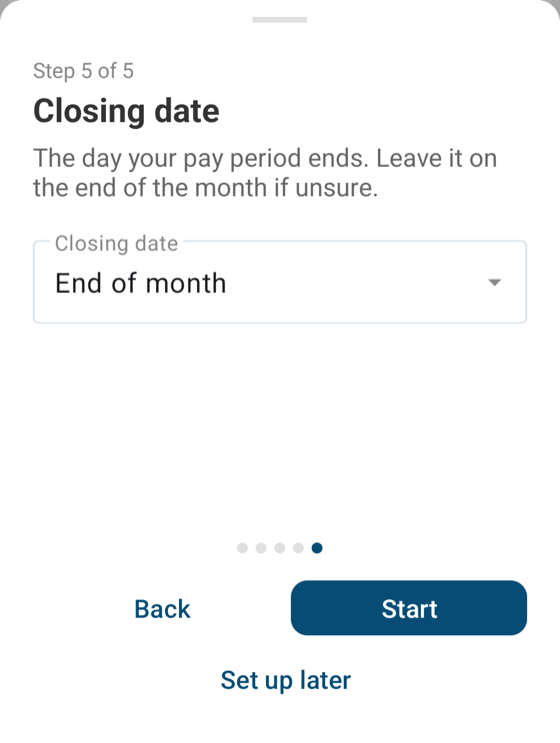
Closing day
The closing day of your pay. If you do not know, leaving it at the end of the month is fine. With a closing day such as the 15th, the list, totals and PDFs count by the period cut at that day. Changing the closing day also changes how past months are divided, so it is best to decide before you start. See Closing date for details.
What the guide does not ask, but is easier if you set first
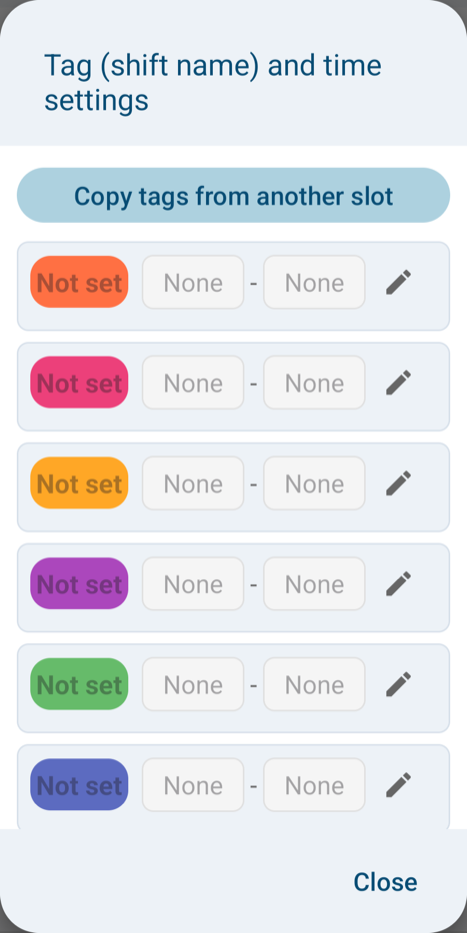
Tags (shift names)
You can register up to 8 names such as "Early" and "Late" together with their start and end times. Once registered, one tap on a tag button on the day screen or in the list fills in clock-in, clock-out and the tag at once. You can also use tags to tell kinds of work apart, such as business trips and remote work. If you work shifts, setting this first is recommended. Open "Tags, shift names and times" from Settings in the menu (☰). You can also copy tags made in another workplace. See Tags, shift names and times for details.
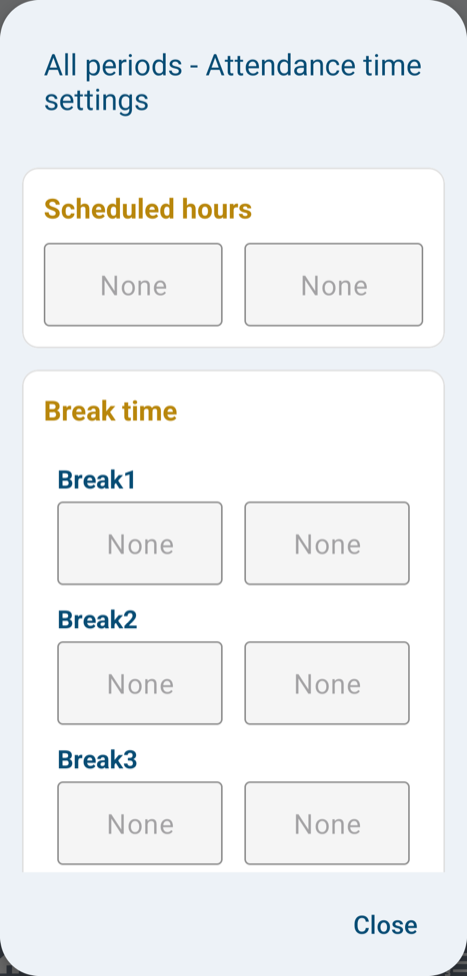
Scheduled hours and breaks
On the working hours settings screen you can enter scheduled hours and breaks together. If you have a fixed break every day, enter it under "Break time". If you do not, a break is deducted automatically according to how long you worked. When a day is different, change it for that day only on the day screen. See Break time for details.
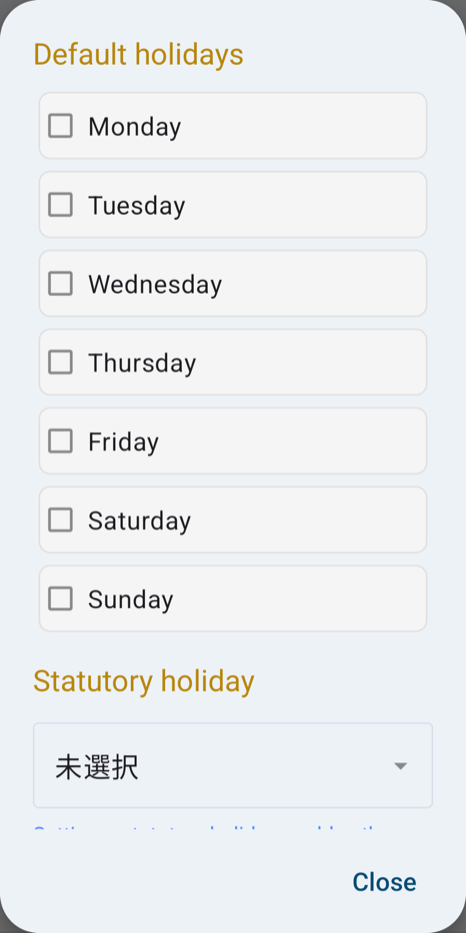
Days off (basic holidays)
Tick the days you normally do not work, such as Saturday and Sunday, under "Basic holidays" and they are counted as holidays. You also choose the statutory-holiday weekday on the same screen. See Holiday settings for details.
Night shifts and work that crosses midnight
For a night shift or other work that crosses midnight, enter the next morning's time as clock-out and choose "Next day"; it is entered as a time past 24:00, such as 30:00. The late-night premium (22:00 to 5:00) is decided by the late-night rate in the salary settings. See "How do I enter a night shift (work that crosses midnight)?" in the FAQ for details.
Notification
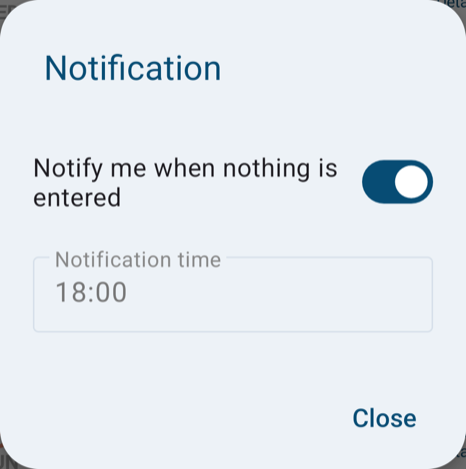
If you forget to enter clock-out, the app reminds you at the time you choose. Use "Notification" in the menu (☰) to turn it on or off and set the time. For the time per workplace, see Notification (time per workplace).
Where backups are saved
If you choose the save location once under "Backup" in the menu (☰), the app backs up automatically every 30 days. It helps when you change phones or delete something by mistake. See Backup/Restore for details.
Start-up screen
You can choose the screen shown first when you open the app (HOME, calendar, list, day or history). See Startup settings for details.